

How Pre-Visualization and Projection Planning Saves Time & Money

By: Mark Trevena
3D projection mapping can transform an ordinary building or object into a memorable showpiece, telling complex stories and engaging audiences through video. However, projecting onto a complex object poses unique challenges especially with physical limitations of projector placement, aggressive timelines, and tight budgets.
In this blog, I will explain how to plan your projection mapping in advance, saving you time on-site and keeping your clients happy.
Do More in Advance to Save Time On-Site

Pre-visualization and projection planning can save you time and money in installations like this one.
It is often said, “Time spent planning is never wasted.” This could not be more true for 3D projection mapping. The goal of planning is to specify the right equipment, save time on-site, test ideas, and sell concepts to your customer all from the comfort of your studio.
The first step to successfully planning projection mapping is creating an accurate 3D model of your projection target. Several approaches exist ranging from tried-and-true LiDAR scans to newer camera-based photogrammetry. These scans give you an accurate representation of what the building layout ‘really is’, based on real-world measurements, as opposed to ‘what it should be,’ which is often what CAD drawings represent.
The next step is to plan how to map your content onto the 3D model. Here, too, there are options. The most flexible is UV mapping, which allows you to determine exactly how each element of the target will be mapped to video. UV mapping also allows complete control of the look of the project and offers more options on-site, although it can add complexity to content creation as videos must be tailor-made to fit the map.
Finally, the UV-mapped model can be brought into an offline planning and visualization tool to determine brightness and resolution, test proposed projector locations and audience point-of-view.
Plan How Your Content Works
Now it’s the fun part. Using your offline planning tool, you can play media, create sequences, and build your show. This virtual world allows an unrestricted view of your work without the usual annoyances of waiting for sunset and working around obstacles such as trees.
This means that you can take the guesswork out of coverage and see, first-hand, the impact of your content. This testing and pre-visualization phase can also save significant time and money on media re-renders.
Deliver Your Show
Now that you are fully prepared, your on-site work is now vastly reduced, saving precious time and money. Using your UV-mapped content onto a 3D model ensures that the projector’s position can be determined quickly in the software, eliminating guesswork.
Demand End-to-End Workflows
When selecting a pre-visualization tool, removing bottlenecks must be a priority. First, you must have seamless integration into your dedicated 3D packages, such as Cinema 4D, for effortless import of your models. A workflow gap at this first stage can result in frustration.
Once imported, you must be able to quickly add your projectors with instant feedback for coverage, pixel size and brightness, including where there are hot spots. Once you have the best technical placement, you need to be able to simply add content. When you have the perfect set-up, you need a seamless bridge from your offline package to the media server you will be using on-site.
The full version of this blog can be downloaded from Green Hippo here.
Mark Trevena is the communications and training Manager at tvONE, bringing over 10 years of AV knowledge and mindshare to the tvONE brands: tvONE, Magenta, and Green Hippo.
LEARN MORE

Disguise Discusses Cuebric Partnership at NAB Show 2024
Disguise discussed its partnership with generative AI platform Cuebric at the 2024 NAB Show in Las Vegas, NV.
Blackmagic Design Demos DaVinci Resolve 19 at NAB Show 2024
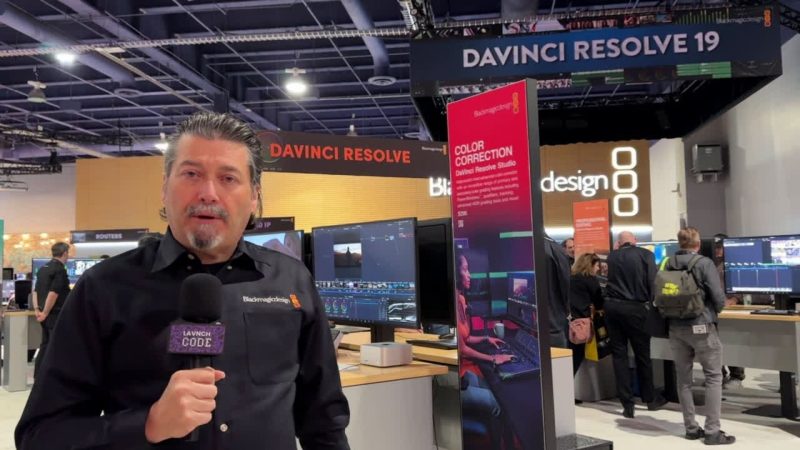
Blackmagic Design demonstrated its DaVinci Resolve 19, which has a new major update that adds AI tools, at NAB Show 2024.
Brainstorm Neuron Goes HTML 5 at NAB Show 2024

Brainstorm announces a major update for Neuron allowing users to integrate 3D graphics to their workflow without a constant input.
